Grace Bergren Photography
|
The first day I walked into this class I had expected this trimester to further in depth teach how to use Photoshop and work with the camera to get cool exposures. I knew we would have higher expectations of our photography because I had taken part one of this class the previous trimester. I had a lot of fun learning how to shoot in manual on my camera and I learned how to take light panting and motion blur pictures. At the beginning of the trimester I had worked with Photoshop and I struggled with it, but in this class I have learned how to make Panographics, and that was my favorite. I took this class to get better at photography, and I have. I really liked this class and the weekly photos due on every Monday. I explored creativity throughout the trimester when taking photos or in Photoshop. I had a lot of fun in this class improving and making progress with photography and below there is a collection of photos to show what I have learned in this class.  Our first assignment in this class was to take pictures showcasing the Principals of Design. This was my favorite picture of the assignment, showing Emphasis.
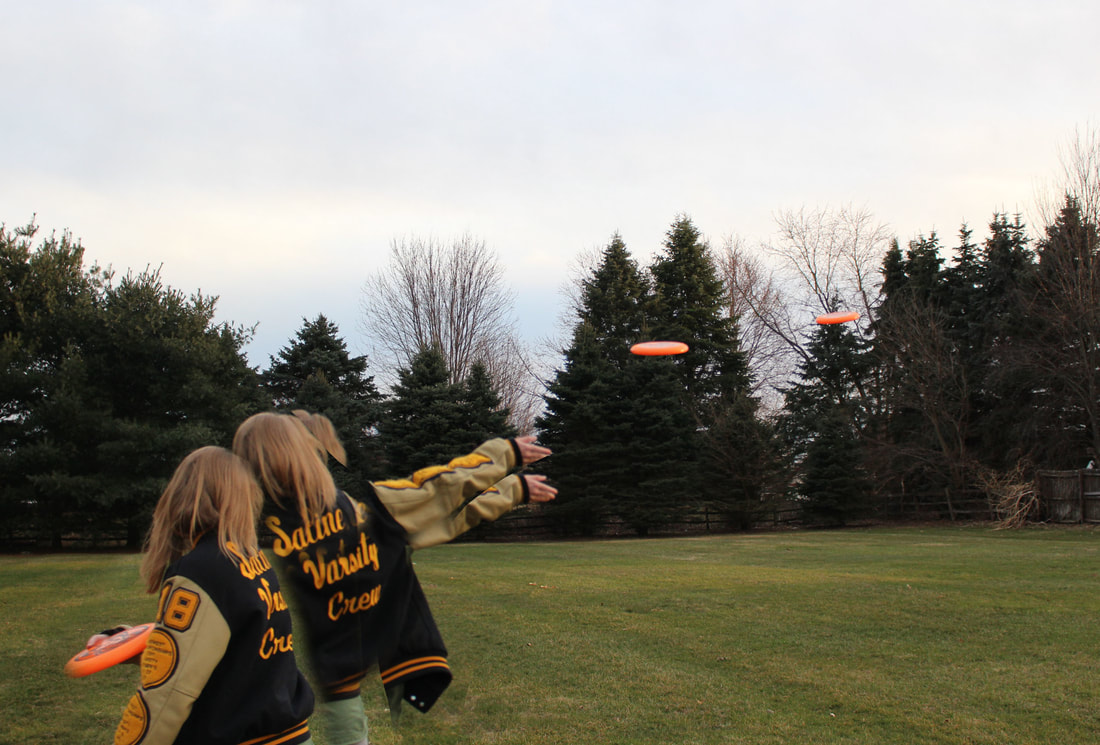
My skills got a lot better from this class. For example, in the same assignment I learned a better way to capture motion from the left picture to the right.
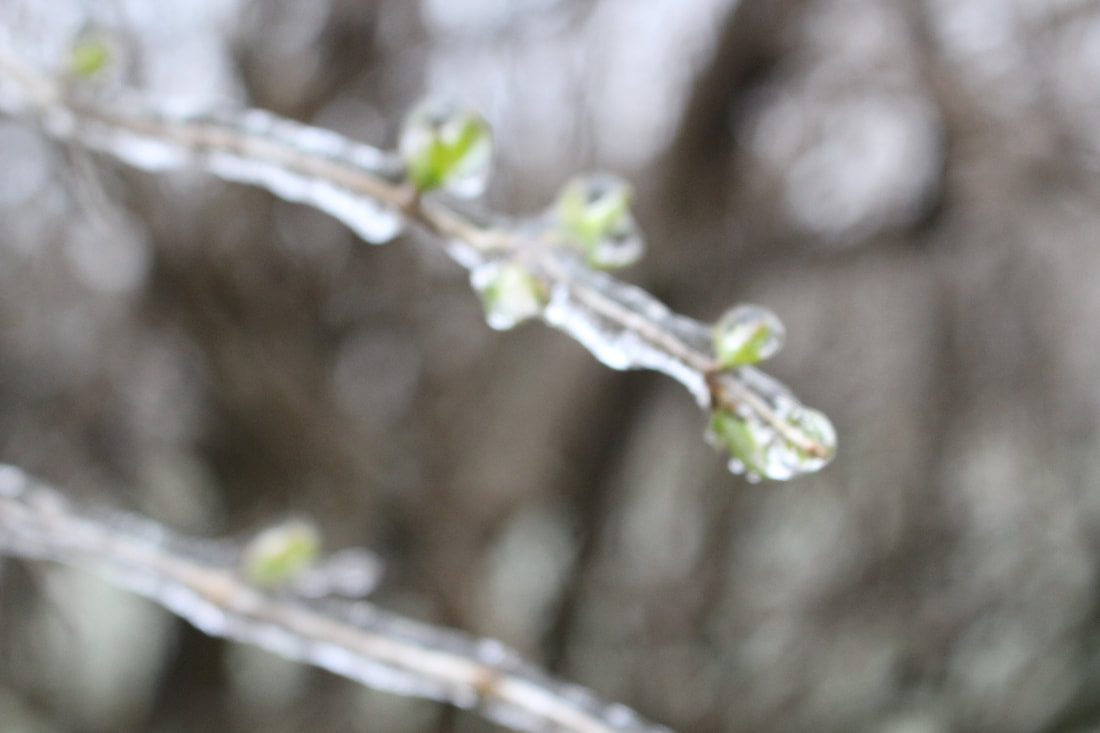
I also learned that I need to check to see how my pictures are turning out while i'm on a photoshoot because mistakes happen and a few pictures might turn out blurry, but I learned to correct my mistakes and adjust the set up differently to get the photo I was hoping for.
This was my favorite thing to do in this class. It worked with photoshop, but it wasn't too much and it involved taking multiple photographs. 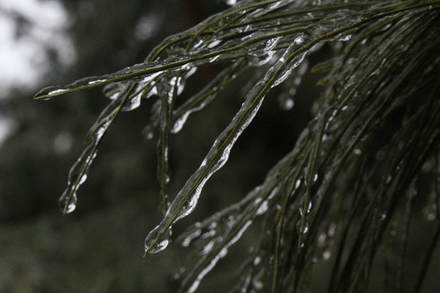 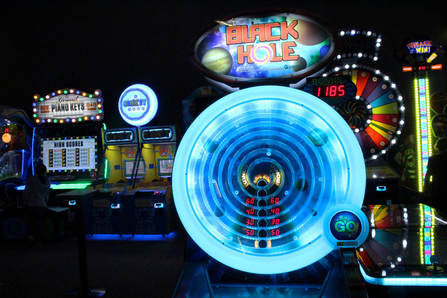 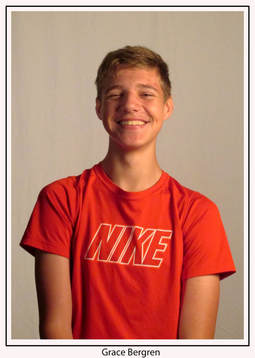 These are examples of some of my best pictures I took in this class, and these all demonstrate different skills.
0 Comments
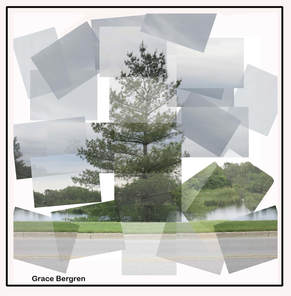
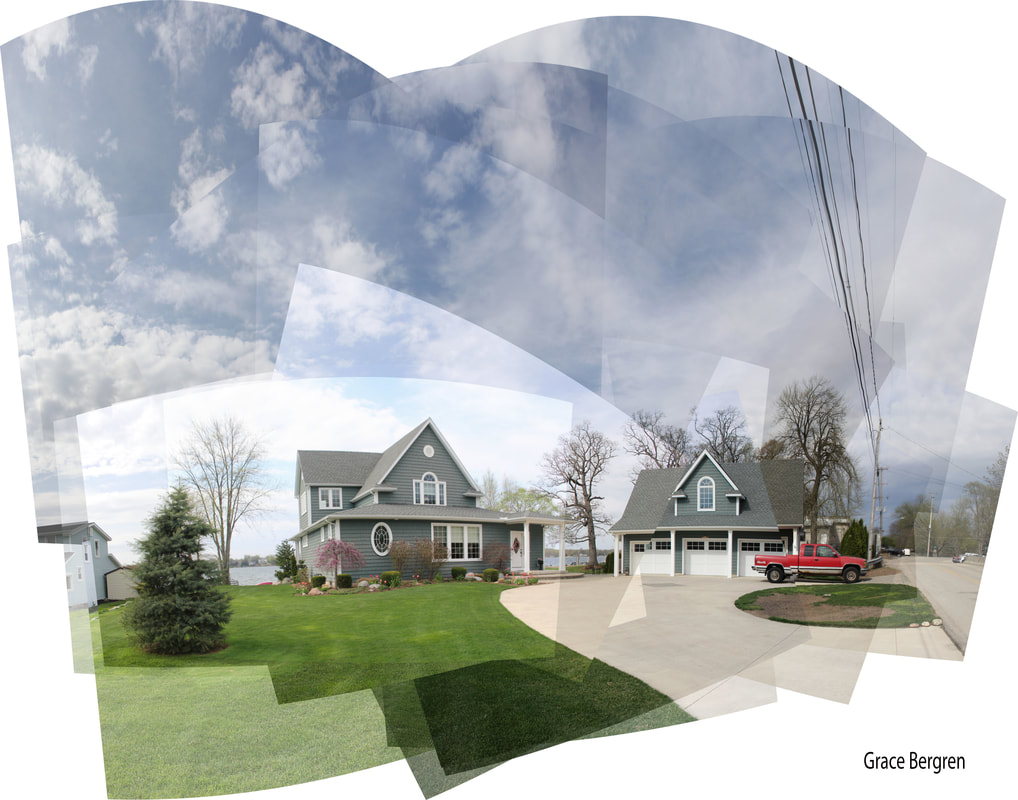
This week is our last week before finals, so students were allowed to choose their favorite photoshop assignment from this trimester and continue to do that this week. I choose Panographics because I like they way they look and it's a good balance of photoshop and photography combined. 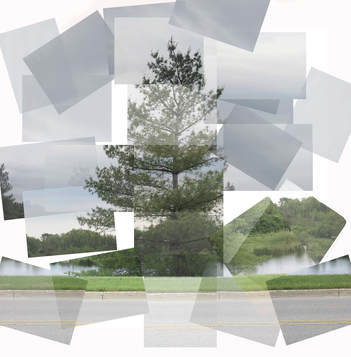 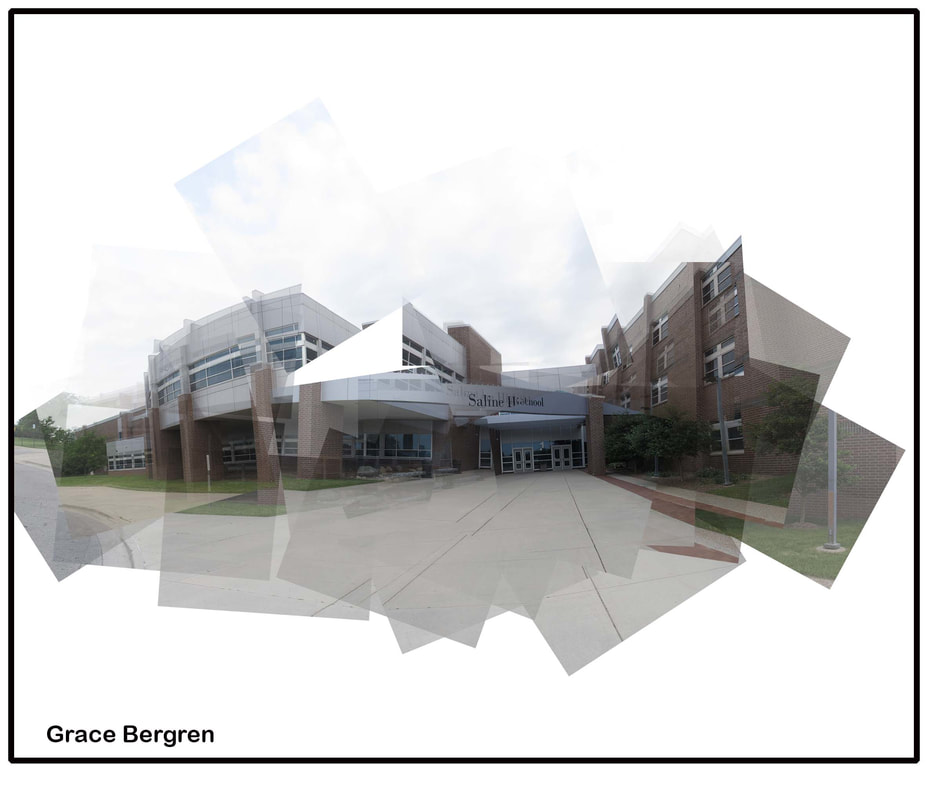 From this week I enjoyed making panographics because it is the perfect amount of photoshop for me and that I can try to actually make it look good.
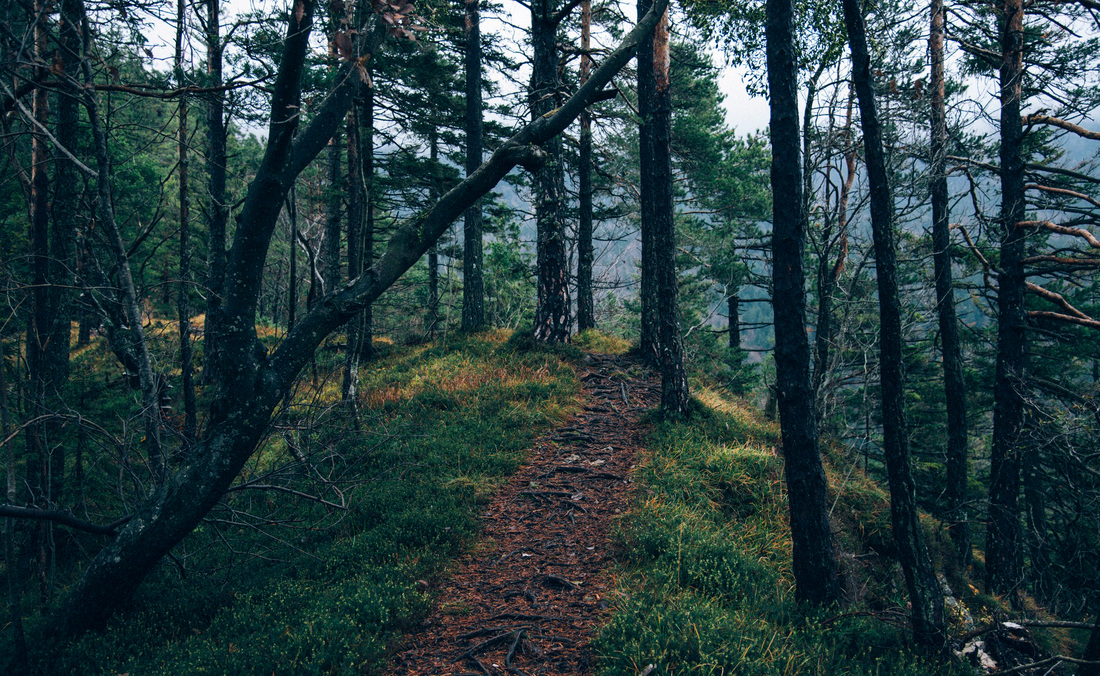
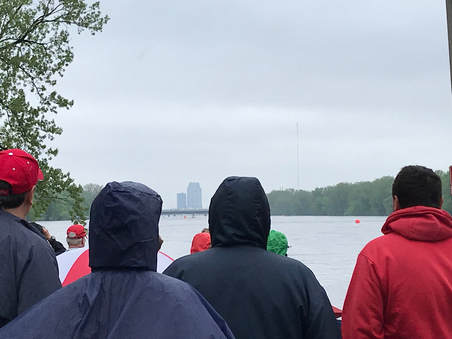
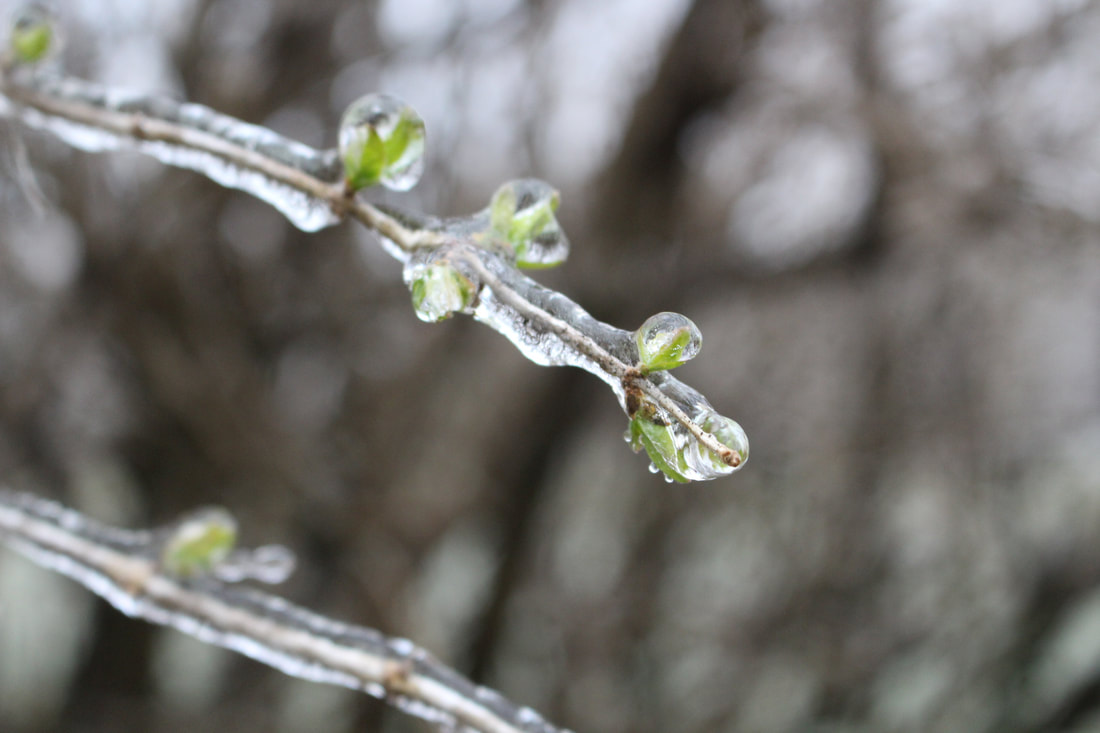
This is the 8th week of the photo assignments and this week's category was nature/landscape. It's early June, so the sun setting has a really nice golden glow that I have in my photos and that was fun. My photo I turned in is below followed by the next best five. 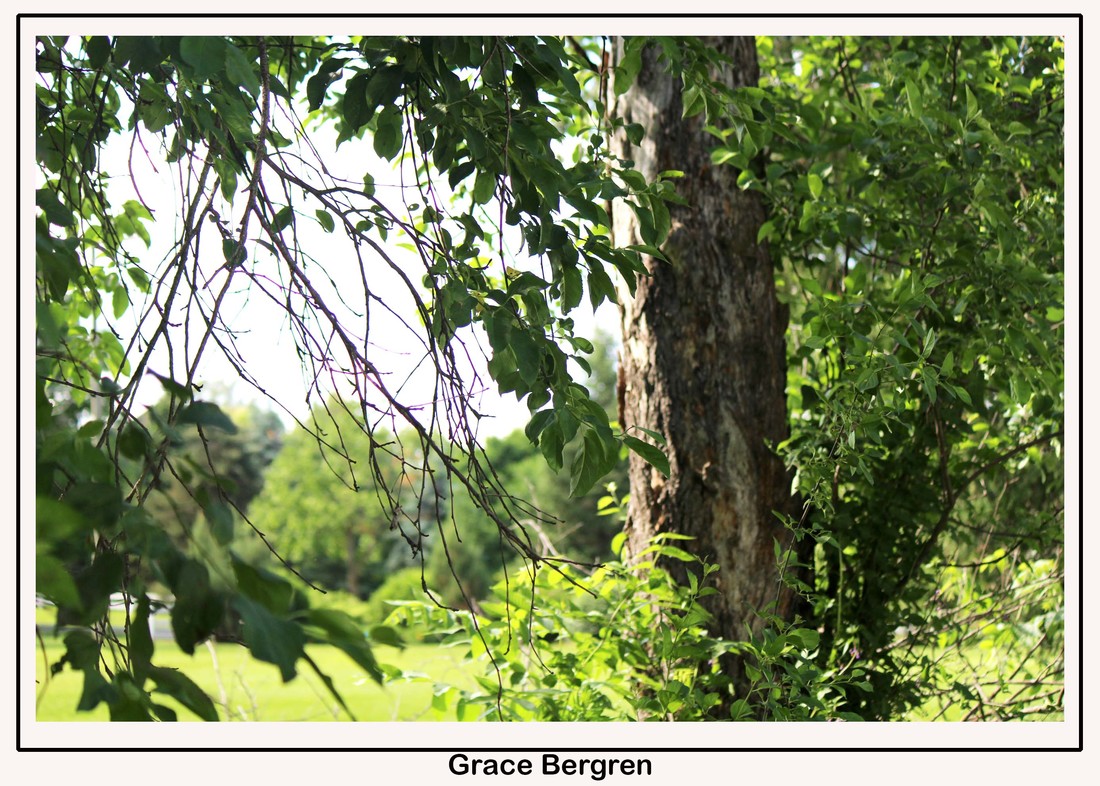 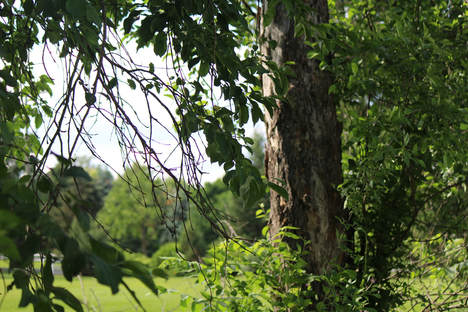 This is the original for the photo above, editing done in photoshop with level and added the required frame. f/8 .0 1/100 ISO 600 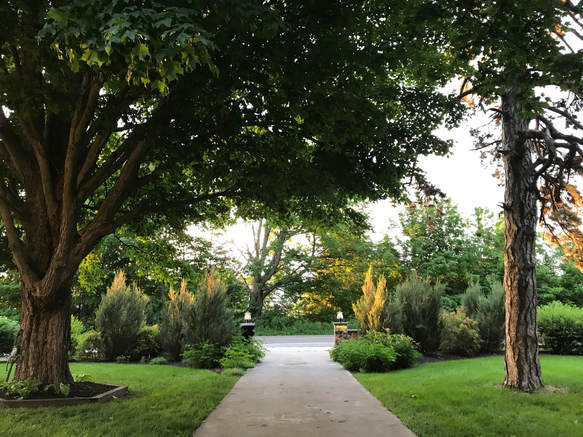  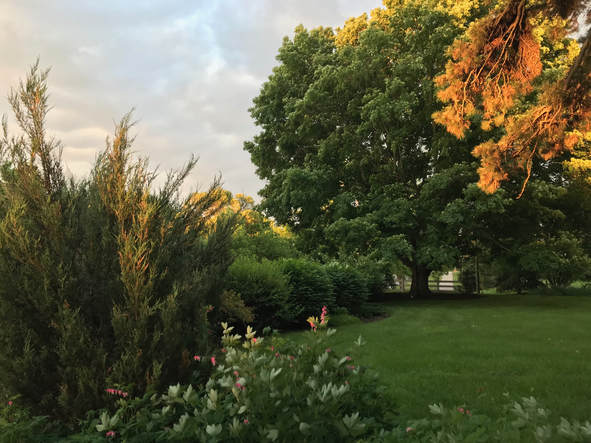 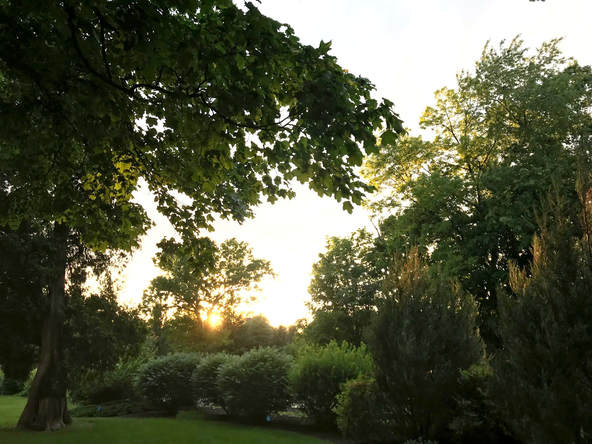 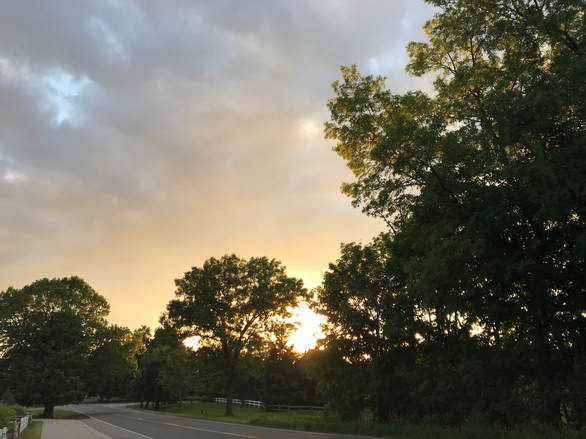 This week I learned that manual exposure works better than landscape mode even though I was taking pictures of that category, it still looks better in manual. I also experimented taking photos at different times of the day, and at around 8pm it looks nice because there is a golden glow on leaves and grass.
This week our photoshop assignment was to look at common advertising and recreate the look. This project called for taking photos of the same object they're selling for and then making the ad look as similar as possible. My ad is over the real one both times. We needed to do two ads if they seemed easy, and my starburst one took a lot of time to drag each cube and make a shadow for each one, but the look made it worth it. The Sharpie one had more trouble with the font, but it all worked out. 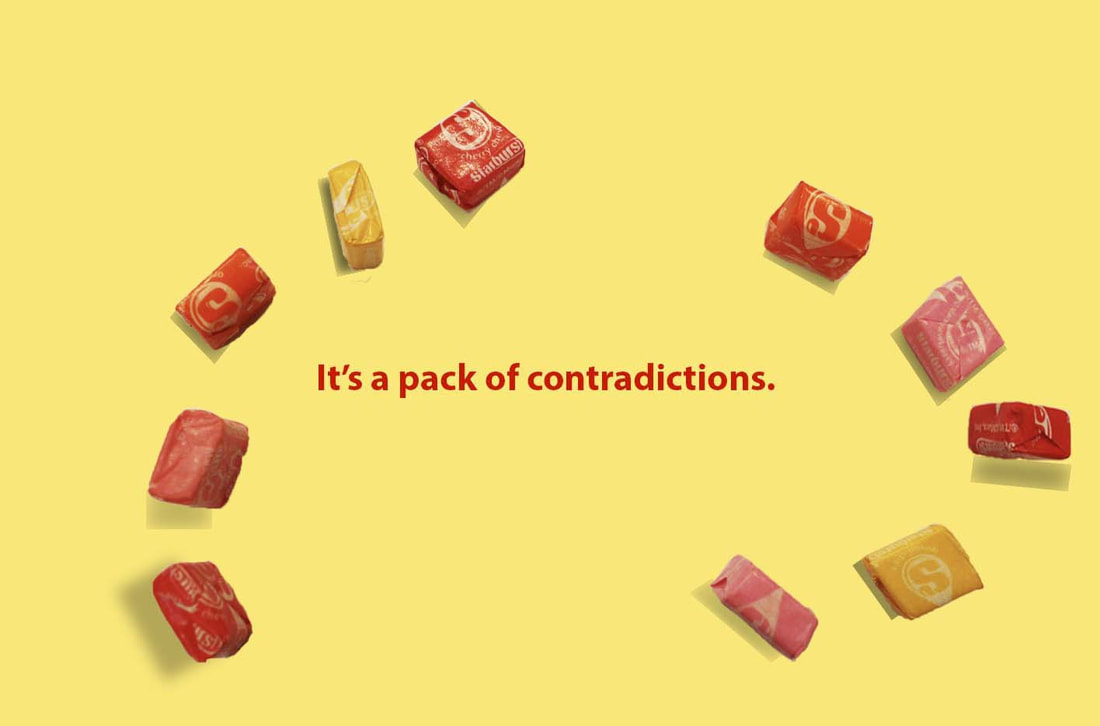 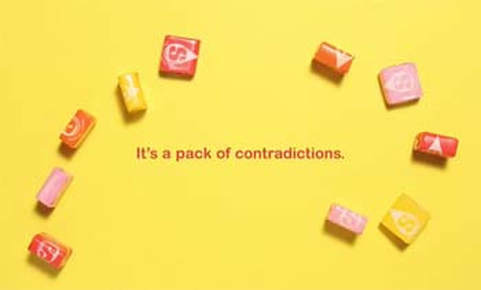 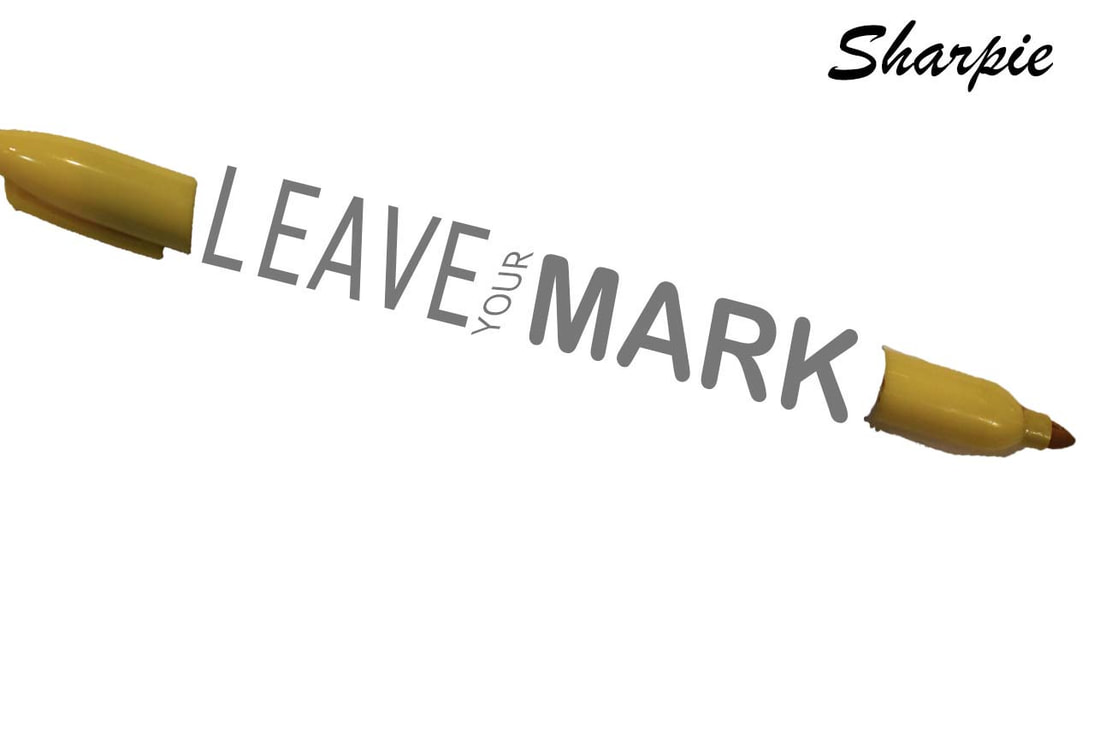 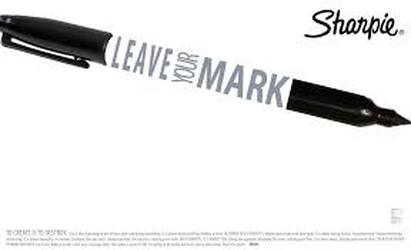 From this assignment I learned how to recreate ads and I thought that was really cool. I think this was my favorite photoshop assignment i have done this trimester.
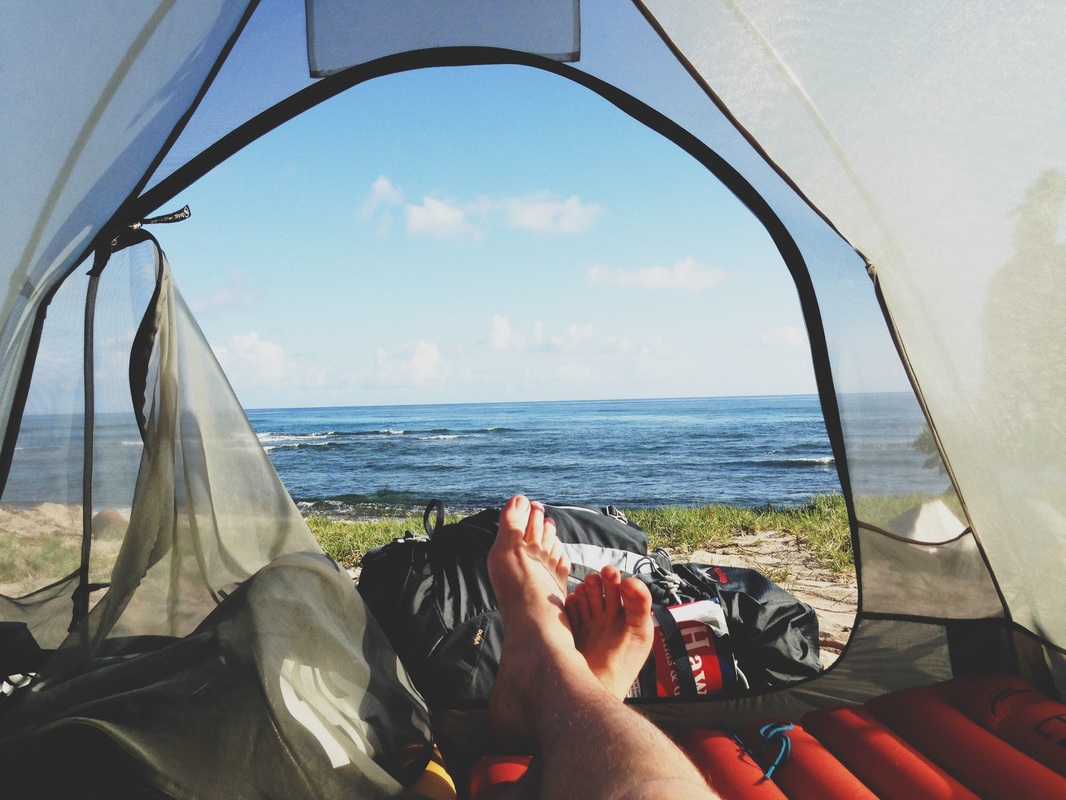
     I liked this assignment because I was able to use an open category. I enjoyed enhancing my pictures in photoshop through levels, I think that added to the mood in a few of my pictures this time especially.
This week we went more in depth with portraits and took both studio and non-studio portraits. The assignment was to take three studio shots with different people and two non-studio portraits of different people as well. Then turn in the top studio and non-studio with a frame and blog the all of them, so here we are. 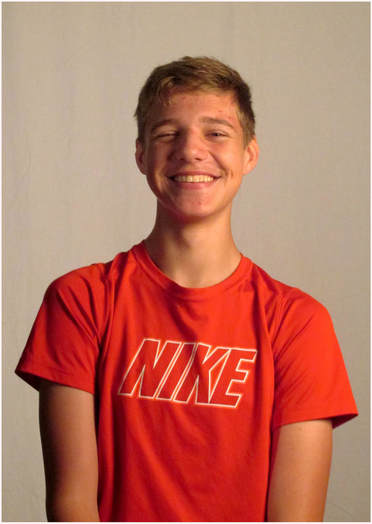 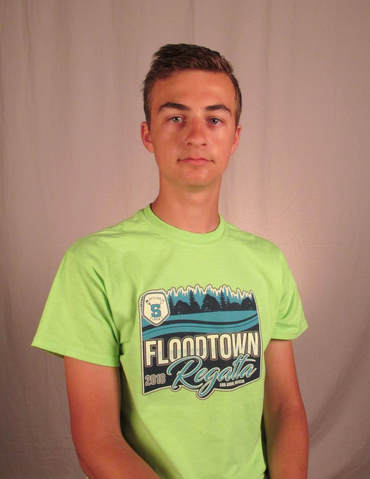 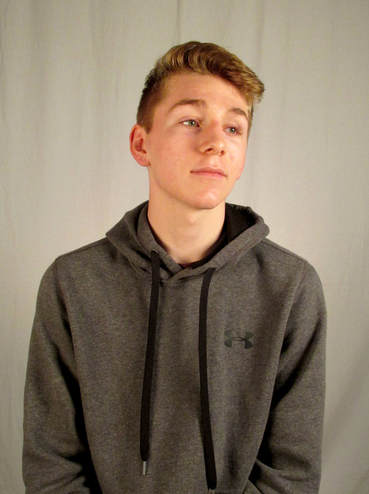  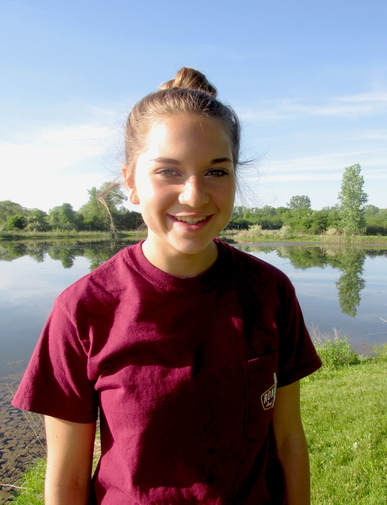 I learned a lot about taking portraits in manual for this assignment. I learned how to use the light meter as a guide and how to adjust the light as needed between the ISO, shutter speed and aperture. I thought taking the studio pictures was a lot of fun and professional, a good expeirence.
This is the sixth week of the weekly photo assignments and this week's category was Light Painting. This was a mandatory topic that we had to cover between weeks three-six and so this was the week that I completed it. Light painting requires a completely dark setting, a camera set for a long exposure time, and props to paint the light on your subject. This is how mine turned out, the best is below then the original, and the next best five follows. 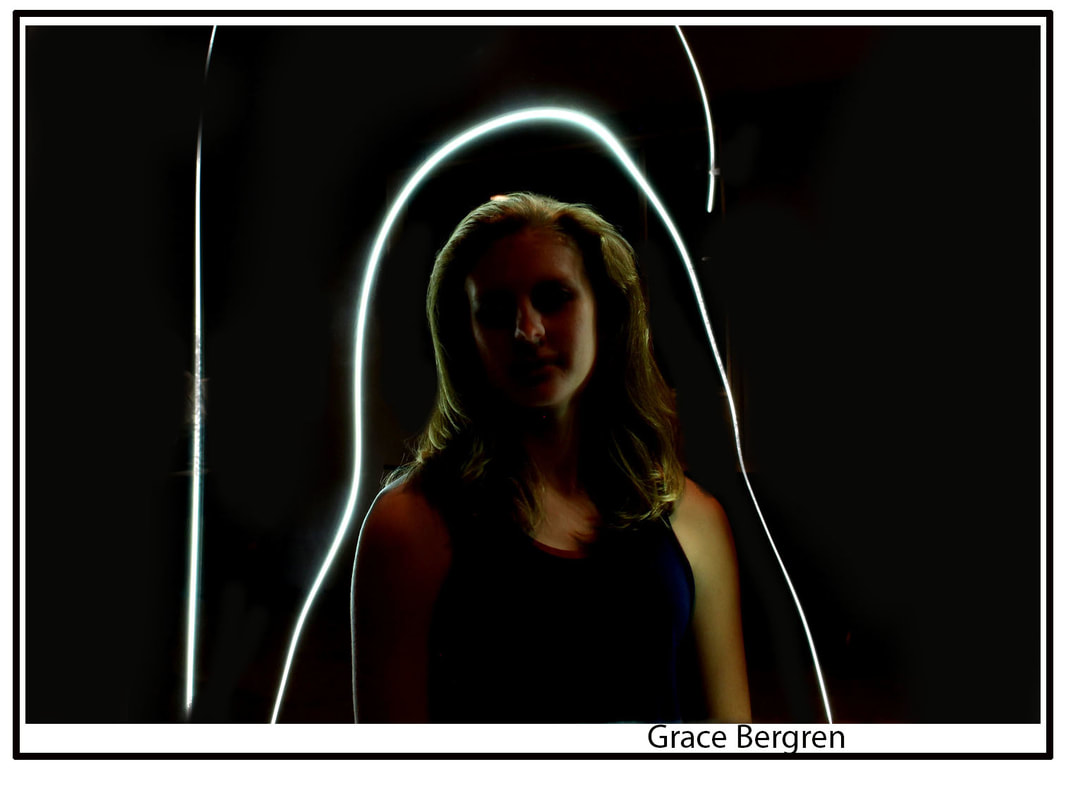 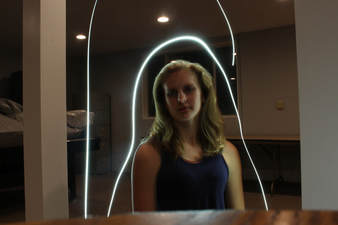 f 16 3.2 ISO 400 For the editing, I had some struggles taking the pictures, so I painted the background black to make up for it, and I added contrast and saturation to the subject for the affect. 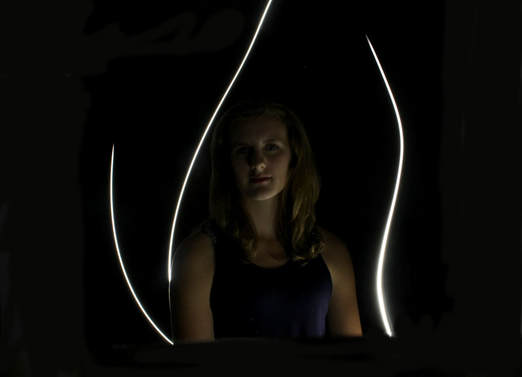 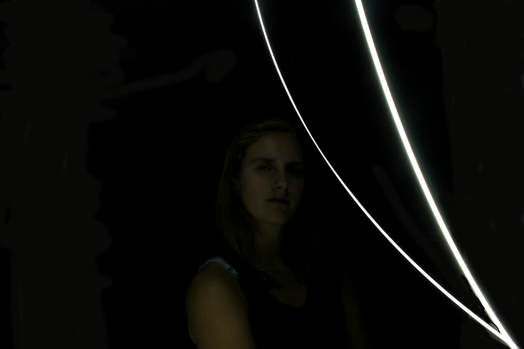 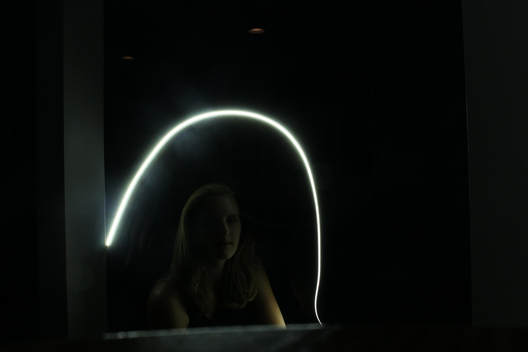 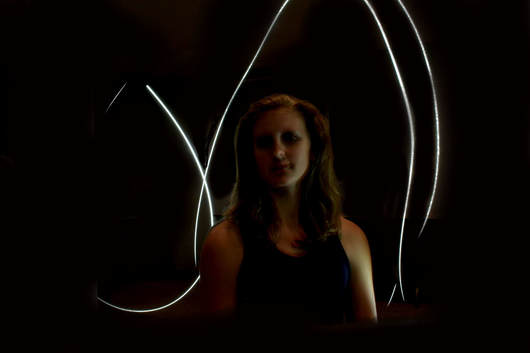 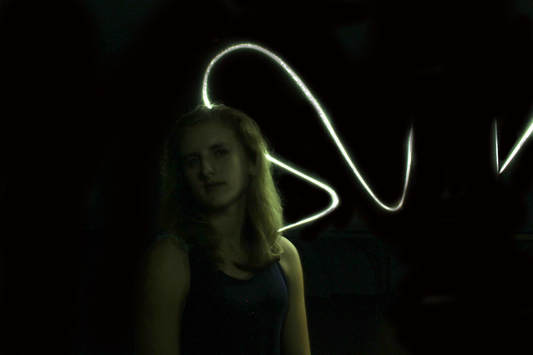 I had a lot of struggles with this assignment. I had everything set up right, I tried taking pictures at 8 seconds, but that wasn't working so I lowered it to 4 hoping it would work, it did not. My camera was in manual mode the entire time and I had the ISO at a low 400 compared to the usual 32000, or 16000. Then I figured out the problem, why my camera wouldn't take the photo. It was 'too dark' and it wanted to correct it. Even though I was in manual! So I had to have my sister stand in the frame, my mom next to the light switch to take the photo in the light, then turn the light off super quickly. I would take the photo and then run with a flash light to paint in 2.5 seconds, the longest time it would allow. We repeated that process for a good hour after figuring out what was wrong. This was not the best assignment for me.
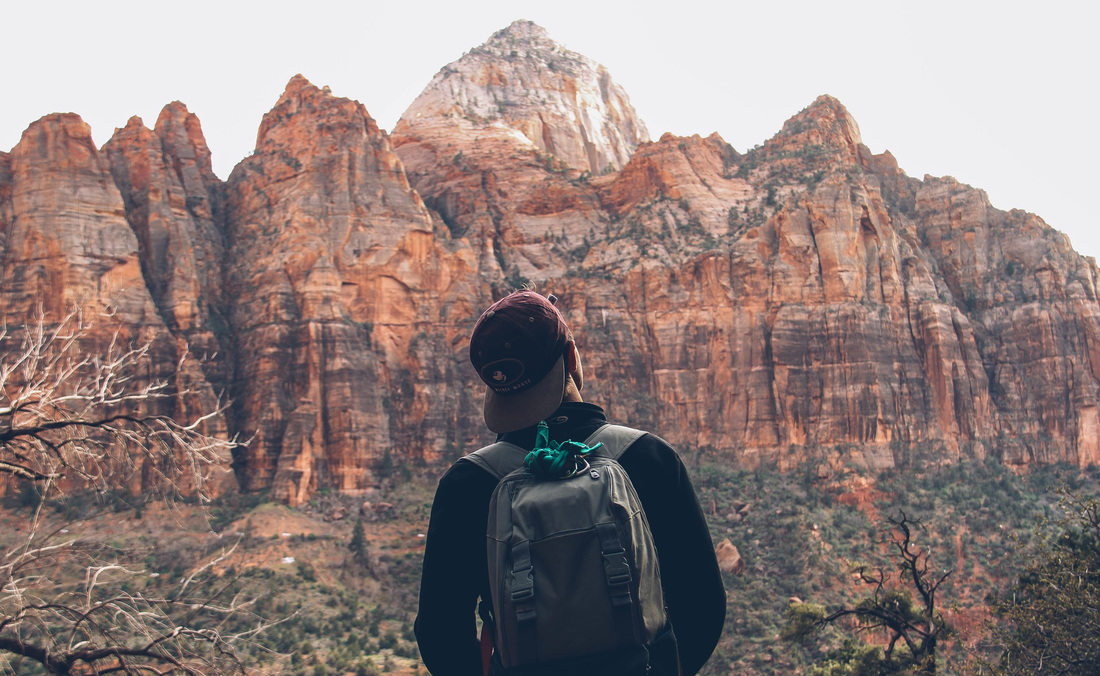
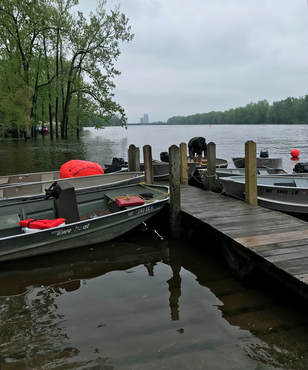
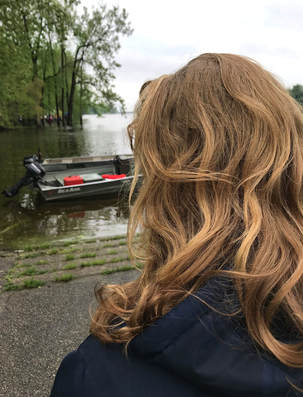
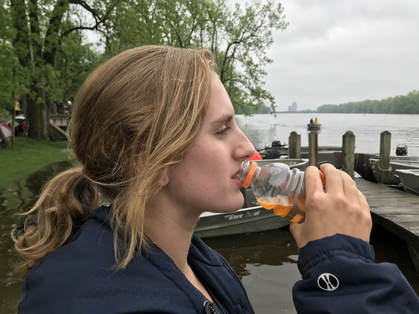
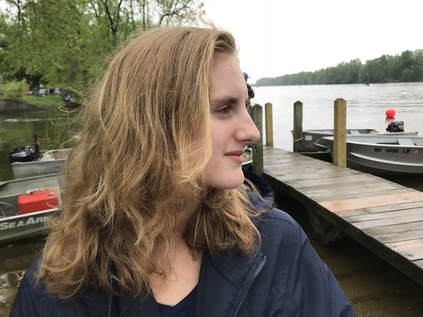
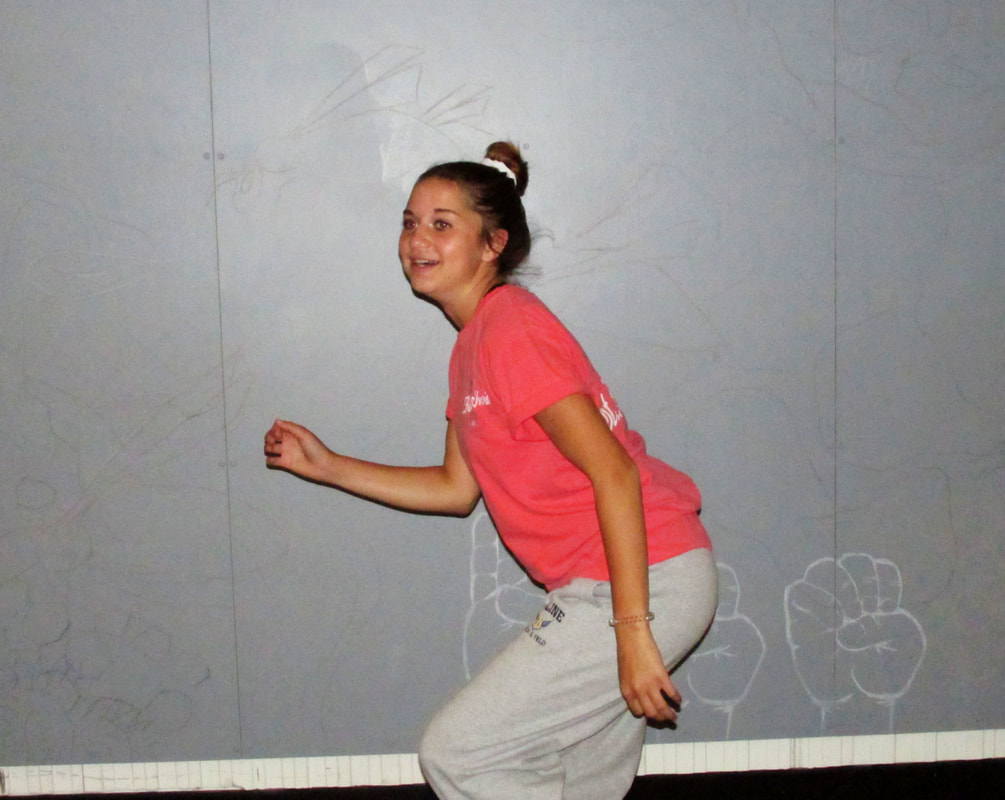
This week we had a photography assignment to take environmental portraits of people in their environment- at their work, doing their hobby, etc. Then, take self portraits showing ourself as what we like to do and about ourselves. I took pictures of a cosmetologist for my environmental pictures and then I had pictures of myself as a dancer, in nature and lastly, as a photographer. 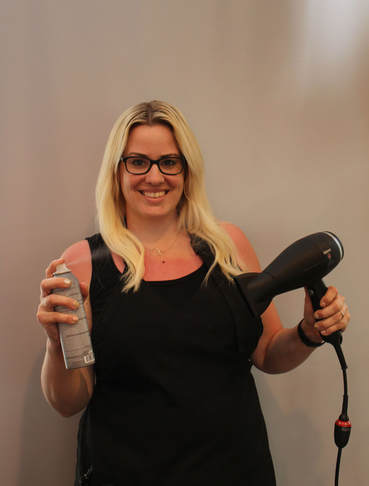 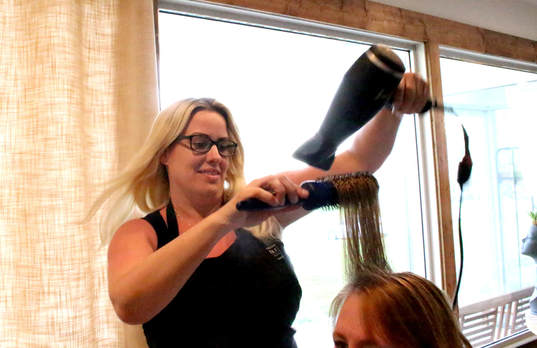 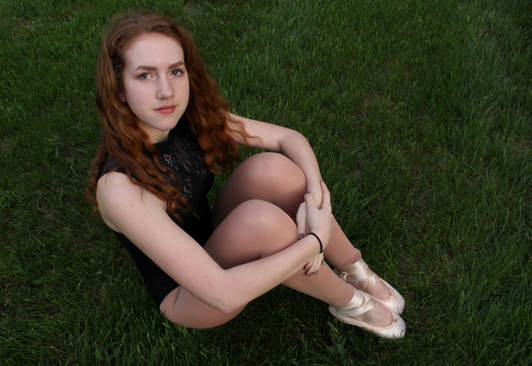 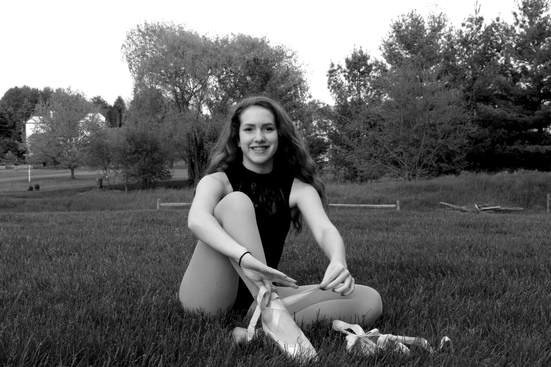 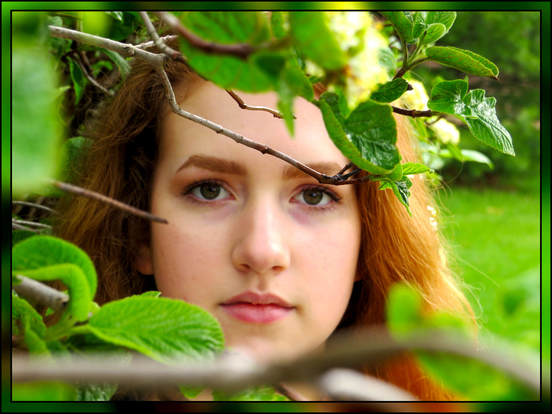 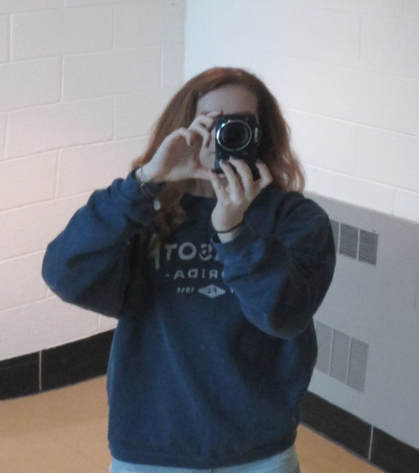 I thought this assignment was alright, I didn't enjoy it that much because it took scheduling and lots of help from other people, but I'm glad they were willing to help for this project.
This week's photoshop assignment was to go search for tutorials that we could follow along and complete in photoshop. I turned in both, and then was asked to blog them too. I chose the two below. 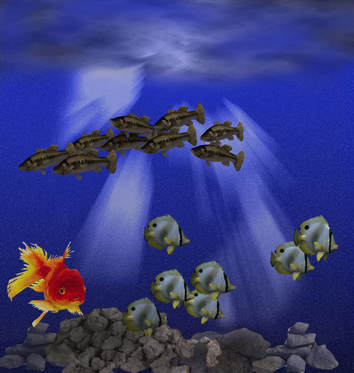 This is a underwater scenery that I started from scratch with the first step of making a new file and then blending the background, adding the surface light tones, rocks and fish. This tutorial was more challenging trying to find the tools they used and advanced shortcuts. blog.entheosweb.com/tutorials/learn-how-to-create-a-realistic-underwater-effect-in-photoshop 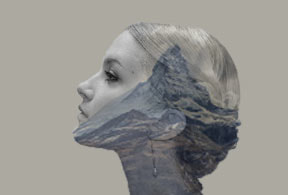 This is a woman's face with a geographical image blended in as part of her head. I liked creating this look more, I think it was more interesting. For this tutorial, I also watched a youtube video and I found that helpful.
www.youtube.com/watch?v=iOYz669WNpU This week's photoshop assignment was to create five Panographic looks. to do this, you take 20-30 pictures all of the same subject, just different angles. Then you put the photos together either manually or have photoshop do it. Once it is all set, or while you are aligning the images, change the opacity down on all the pictures for a more transparic look that way you can see the multiple photos. 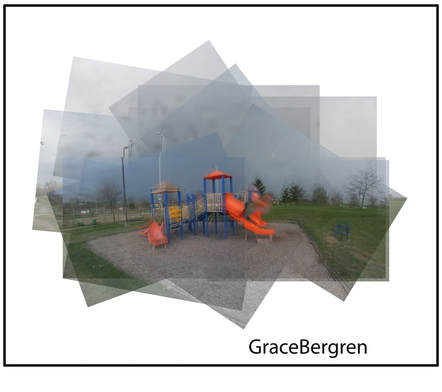  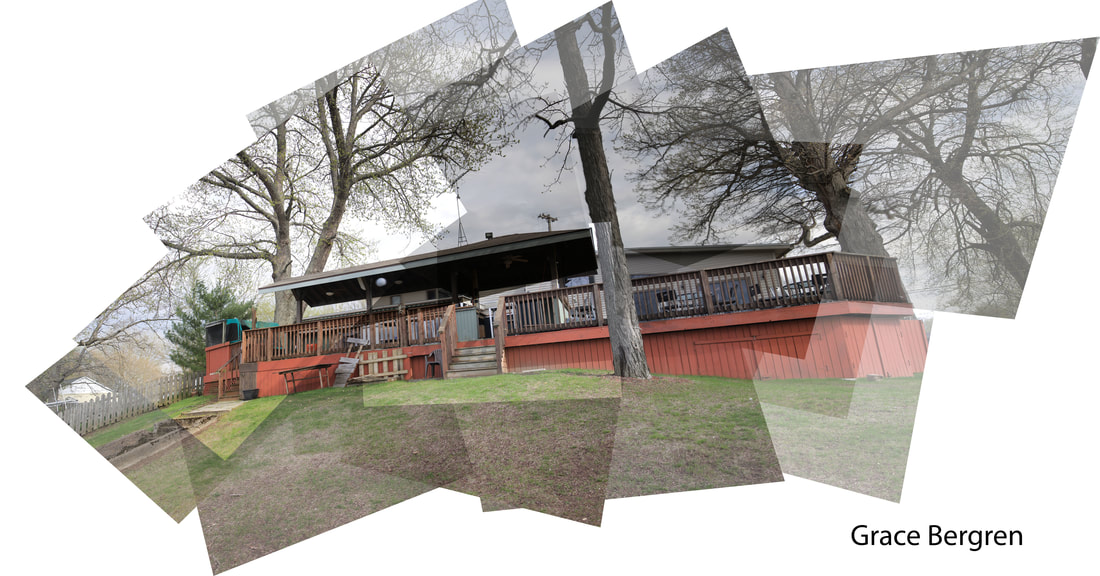 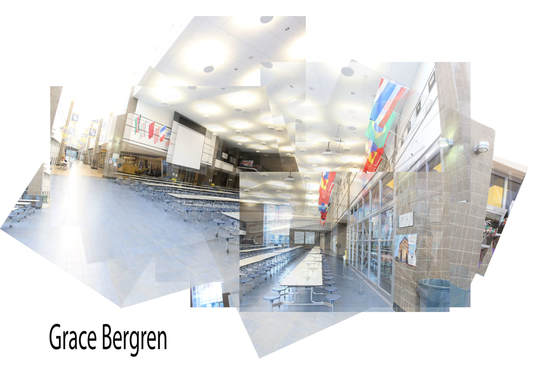 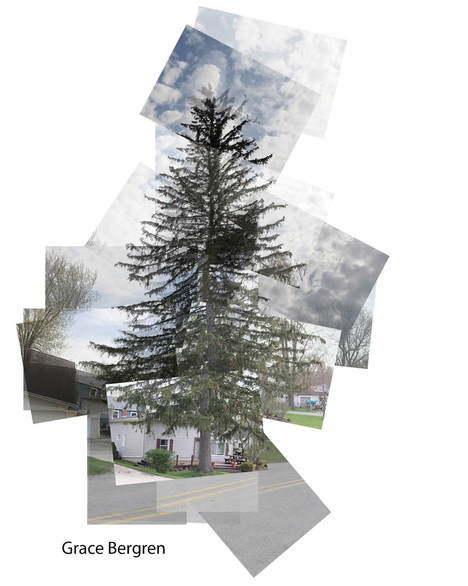 I liked this assignment I thought it let people be creative and I like the artistic look. It did take some time putting them together manually, but it looks better so it was worth it.
|
AuthorWrite something about yourself. No need to be fancy, just an overview. ArchivesCategories |
 RSS Feed
